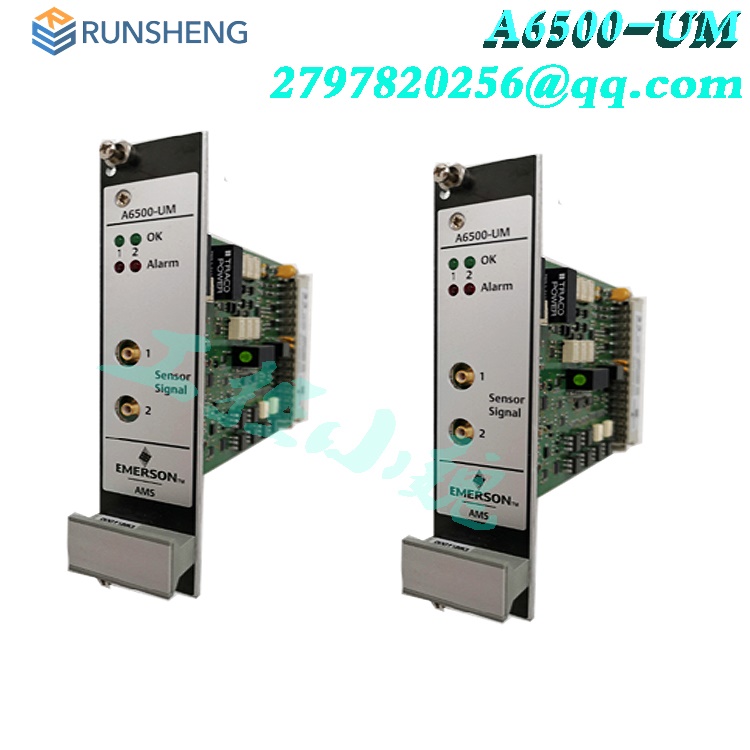
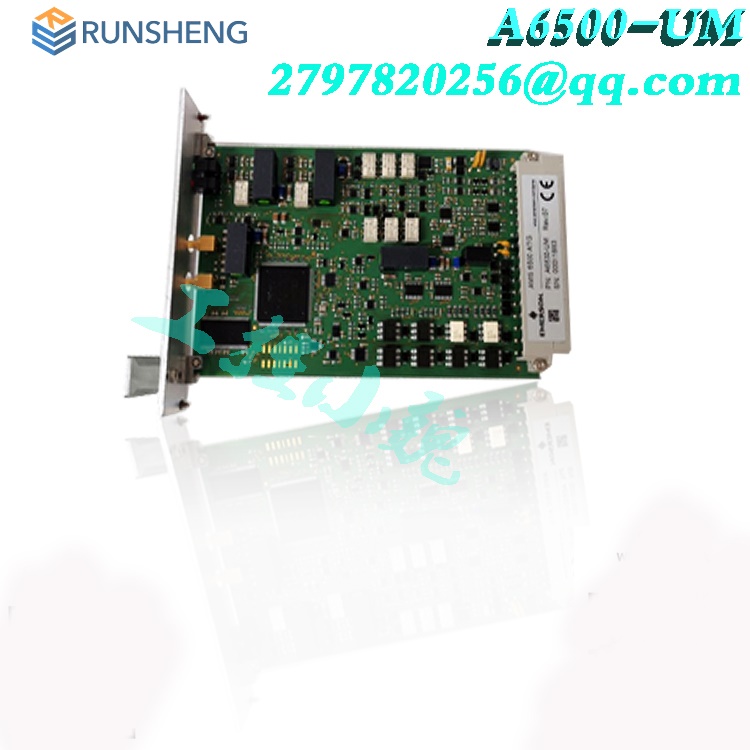
FloBoss s600+ Flow Computer EMERSON
The S600 installation must conform to all applicable local codes and regulations. All installation procedures should be in accordance with normal practices of good workmanship. Although the S600 shipped to you may not include all of the hardware options described in this manual, the procedure for the basic installation of the unit remains the same.
Many products have not yet been launched, please contact us for more products
If the product model does not match the displayed image, the model shall prevail. Please contact us for specific product images, and we will arrange for photos to be taken in the warehouse for confirmation
We have 16 shared warehouses worldwide, so sometimes it may take several hours to accurately return to you. We apologize for any inconvenience caused. Of course, we will respond to your concerns as soon as possible.
FLOBOSS S600 Other names:
Operation Unit FLOBOSS S600
FLOBOSS S600 output unit
Control Unit FLOBOSS S600
The S600 installation must conform to all applicable local codes and regulations. All installation procedures should be in accordance with normal practices of good workmanship. Although the S600 shipped to you may not include all of the hardware options described in this manual, the procedure for the basic installation of the unit remains the same.
Note: We strongly recommend you familiarize yourself with the procedures described in this chapter before you begin to install the S600
The S600 uses a modular design that provides maximum flexibility and ease of installation.
The basic panel-mounted version consists of three major components:

Fabricated metal case, complete with pre-installed PSU/backplane and four card slots for the plug-in cards (comprising a dedicated CPU slot and three I/O slots).
Removable front panel comprising the LCD display and keypad assembly.
Plug-in boards. A CPU board and one I/O board are supplied for a basic configuration; two blanking plates are supplied to cover the unused slots.
Figure 2-1 shows the S600 system components with the appropriate user-provided tools.
Environmental Considerations
The S600 panel mount is designed for use within the control room. Place it in a position that provides ease of use, comfort, and safety for operators and maintenance personnel. The optimum height for viewing and using the display and keypad is at operator eye level.
Required Tools for Installation
Before you attempt to install the S600, ensure that you have the following tools:
Small flat-blade screwdriver suitable for the slot-headed captive screws on the rear of the case that secure each plug-in board into the case.
5.5 mm (5 BA) hex or small adjustable crescent wrench for the front panel bosses.
2.5 mm Allen key suitable for the hex cap screw on the front face of the front panel that secures the front panel molding to the case.
Installing the S600
Refer to the following procedures for installing the various S600 components, including the front panel, panel-mounted unit, and plug-in board.
Unpacking the S600
Unpack the S600 carefully and inspect parts for visual damage.
Removing the Front Panel
To begin the mounting process, remove the front panel from the S600:
1. Ensure power has been removed from the S600.
2. Using a 2.5 mm Allen key, remove the hex cap screw from the bottom center of the front panel (refer to Figure 2-2).
3. Carefully slide the front panel up 4 mm (0.15 in) to allow it to clear the retaining groove at the top of the case, and then allow the panel to come forward to clear the panel case completely (refer to Figure 2-3).

4. Disconnect the ribbon cable from the back of the front panel at the blue connector (refer to Figure 2-4). Observe the orientation of the connector with its mating keyway. You must correctly re-insert the ribbon cable at the end of the installation process.
5. Remove the top and bottom bosses from the unit housing, using a 5.5 mm (5 BA) hex wrench.
All products on this website are special products, and market prices have
been fluctuating,
Please refer to the customer service quotation for details, as the product is new and the price is not genuine,
Please confirm the model, product, price, and other detailed information with customer service before placing an order. The website has been used,
The new one is for sale, please contact customer service for further communication.
Related product recommendations:
DA7281520 P152
5X00106G01
5X00106G01
1C31113G01
1C31129G03
1C31132G01
1C31166G01
1C31169G02
1C31181G01
1C31189G03
1C31194G01
1C31194G03
1C31219G01
1C31222G01
5X00070G04
5X00062G01
5X00063G01
5X00106G02
A6110
A6140
A6210
A6740
A6824
more......
PRODUCT TAGS
Shanxi Runsheng Import and Export Co., Ltd
Address: 3301, Building A, Wanda Center, No. 175 Jiefang Road, Xinghualing District, Taiyuan City, Shanxi Province
Google email: wkcarshop666888@gmail.com
Industrial Control Sales Consultant: Amelia
Whatsapp: +86 18030295882

